What makes a children's book feel personalized?
Most parents start with the same question: how do I create a custom children's book that feels genuinely about my child? The answer is to personalize more than one field.
A strong personalized book usually includes:
- The child's name in the title, story text, or dialogue
- A visual character based on the child's photo
- A theme that matches their age, interests, or milestone
- Family members, friends, or pets when they matter to the story
- Illustrations that stay consistent from page to page
- A format you can share, print, or read at bedtime
Starring My Kid handles those pieces inside one creation flow. You upload a photo, choose a story direction and art style, add optional co-stars, then generate a finished illustrated book you can review page by page.
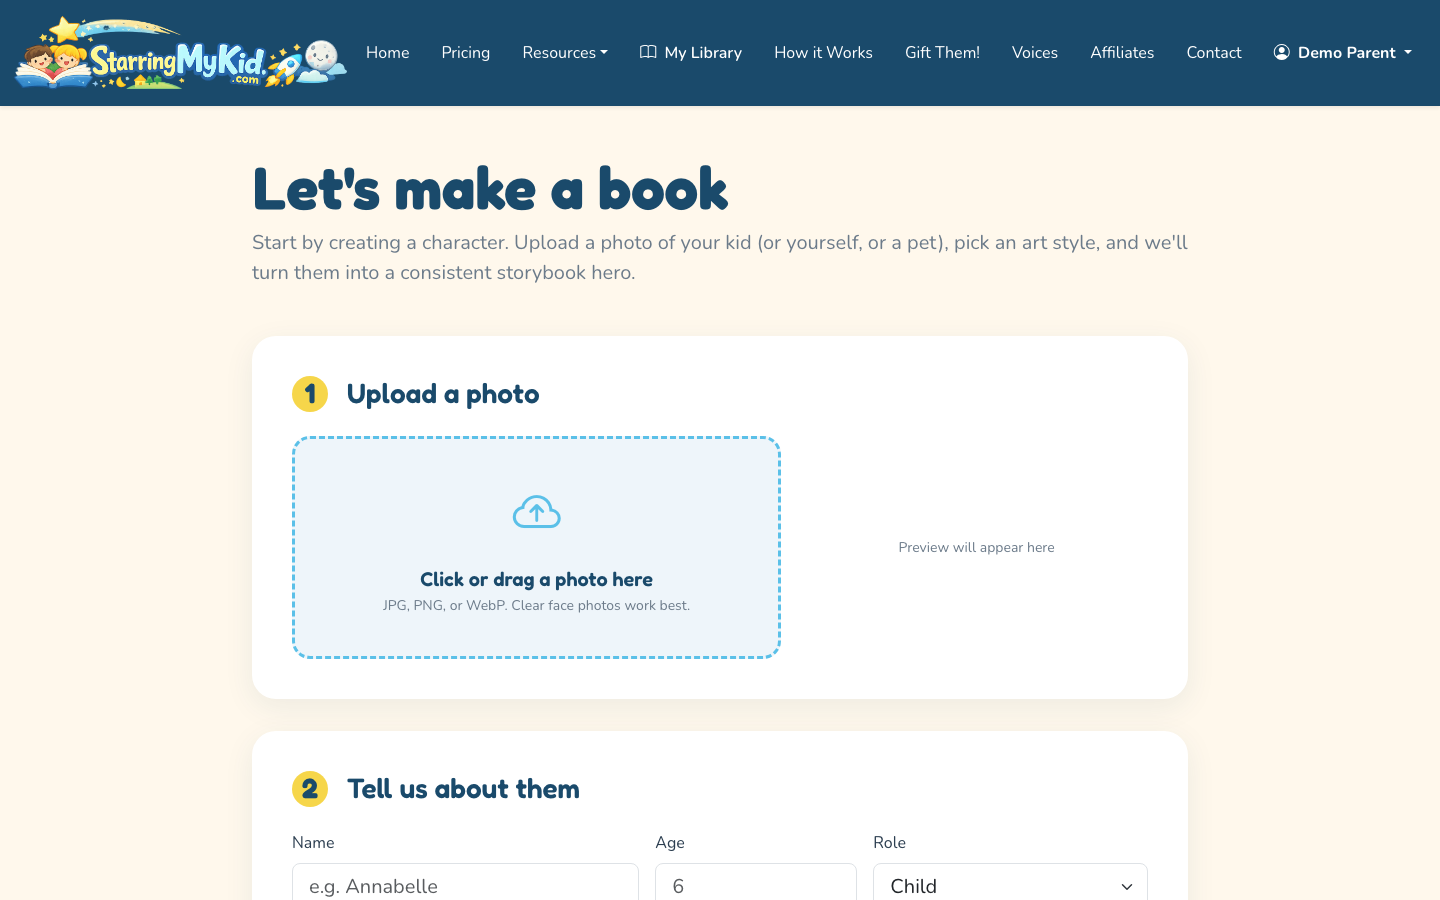
Step 1: Start a new personalized book
Open the create flow and start a new book. This is where you set the core inputs: the child's photo, story theme, visual style, and cast.
If you are still comparing options, the children's picture book guide explains the broader planning process: age range, story length, illustration style, and page pacing.
Step 2: Upload a clear photo of your child
The photo is what turns the child into a consistent cartoon character. For best results, use a front-facing or slightly angled photo where the child's face is visible, well lit, and not covered by sunglasses, heavy shadows, hats, or hands.
Good photo choices:
- Face clearly visible
- Natural expression
- Simple background
- One child as the main subject
- Recent enough to match how the child looks now
Avoid photos where the face is tiny, blurry, side-on, or mixed into a crowded group. You can still include siblings, parents, grandparents, or pets later as co-stars, but the hero photo should make the main child easy to identify.
Step 3: Add the child's name and story details
If you are wondering how to personalize a book with child's name, this is the point where the name becomes part of the story setup. Enter the child's preferred name exactly as you want it to appear. For example, use “Sammy” instead of “Samuel” if that is what family uses at home.
You can also add details that shape the story, such as:
- Age or grade
- Favorite activities
- A recent milestone
- A sibling, friend, parent, grandparent, or pet
- A comforting phrase or family nickname
Do not overload the book with every detail you can think of. Two or three meaningful details are usually enough. A birthday book might need the child's name, age, and favorite animal. A first-day-of-school book might need the child's name, grade, and a reassuring personality note.
Step 4: Pick a story theme or write a custom prompt
Starring My Kid includes 10 built-in story themes, such as birthday, bedtime, and first day of school. These are useful when you want a polished structure quickly.
Choose a built-in theme when:
- You want the book finished fast
- The occasion is common and clear
- You prefer a predictable story arc
- You are making a gift and want fewer decisions
Use a custom prompt when you want the book to reflect a specific situation. For example: “Create a gentle story about Mia learning to sleep in her own room, with her stuffed bunny helping her feel brave.”
Step 5: Choose an art style
Next, choose the illustration style. Starring My Kid offers three options:
- Watercolor Storybook for soft, classic bedtime-book artwork
- 3D Animated for a bright, polished character look
- Flat Modern for clean, simple illustrations with strong shapes
There is no universal best choice. Watercolor often works well for sentimental gifts and calming stories. 3D Animated can feel more energetic for birthdays and adventures. Flat Modern is useful when you want a clean contemporary look that reads well on mobile screens.
The main tradeoff is mood. The same story can feel cozy, cinematic, or graphic depending on the art style you choose.
Step 6: Add co-stars if the story needs them
You can create a multi-character cast with the hero plus up to 4 co-stars. That means the book can include siblings, parents, grandparents, friends, or pets.
Use co-stars when they are important to the emotional point of the book. A sibling book should probably include both children. A grandparent gift may feel stronger with the grandparent in the story. A bedtime story may not need a full cast if the focus is one child's routine.
If you add multiple people, give each one a clear role. “Dad helps Leo build the rocket” is stronger than simply listing Dad as a character with no purpose.
Step 7: Generate the book and review every page
After the setup is complete, generate the book. The system creates the story, illustrations, cover, and page layout. When it is ready, review the book in the reader.
Read it like a parent, not an editor first. Ask:
- Does the child feel like the hero?
- Is the name spelled correctly everywhere?
- Does the character look consistent from page to page?
- Is the tone right for the child's age?
- Does the ending feel satisfying?
You can regenerate individual pages instead of starting over. This is useful when most of the book is right but one illustration, expression, or page of text needs adjustment.
Step 8: Regenerate or custom-redraw specific pages
One advantage of making a personalized book digitally is that you do not have to accept the first draft. If one page looks off, use per-page regeneration or a custom redraw prompt.
For example, you might ask for:
- “Make the bedroom look cozier and warmer”
- “Show Ava smiling more confidently”
- “Add the family dog beside the blanket fort”
- “Make the school entrance less crowded”
Be specific about what should change and what should stay the same. If the character looks good but the background is wrong, say that. If the story text is right but the image needs a different action, say that too.
Optional: Add audiobook narration
For families who like listening at bedtime or in the car, you can add narration. Starring My Kid includes stock narrator voices and supports ElevenLabs voice cloning with a 60-second voice sample.
Voice cloning can make a book feel especially personal when a parent or grandparent narrates it. The tradeoff is that you should only clone a voice with clear permission from the person being recorded.
Quick checklist before you finish
Before you share or export the book, check these details:
- Child's name is spelled correctly
- Character looks consistent throughout
- Co-stars are named correctly
- Story theme fits the occasion
- Ending matches the feeling you want
- Export format matches how you will use the book
- Share link opens correctly on mobile
That is the practical answer to how do you personalize children's books: combine name, image, story context, cast, and final format. The more those choices reflect the actual child, the less the book feels like a template.
If the book is meant to help with a specific milestone, choose a story structure that practices the routine gently. For example, a personalized storybook for potty training can turn an anxious daily skill into a small hero story with familiar steps.